Survey setup
Once you have setup a new Evaluation folder, you can start designing surveys.
To begin, in the Evaluation view, click the orange ‘Create Survey’ button located at the top right corner of the screen. You may also choose to copy and edit an existing survey or move one from another Evaluation.
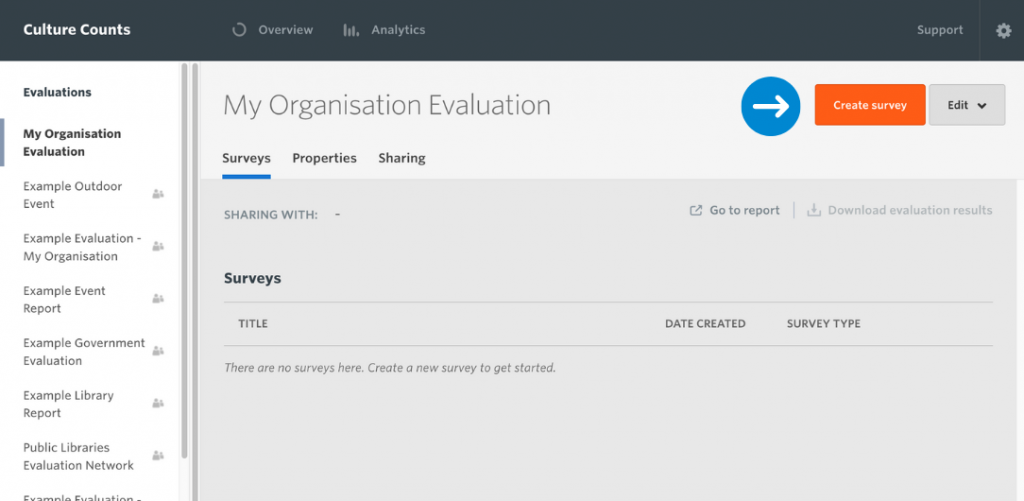
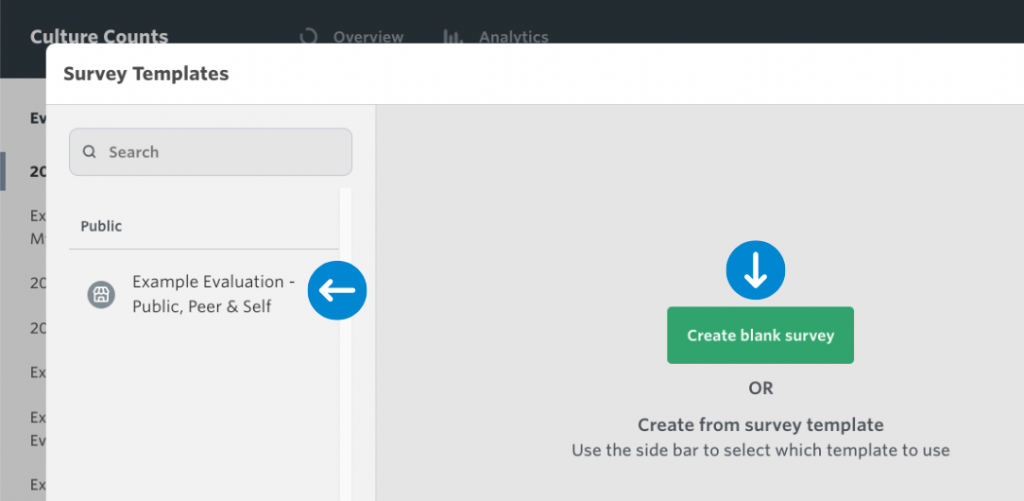
You have two options:
- Create a blank survey
- Create from existing survey templates. You can find out more about templates here.
When creating a new survey, you be guided through the design process, following a header menu at the very top of the survey window. There are four tabs in the header menu Configure, Design, Invite, Summary which are detailed below:
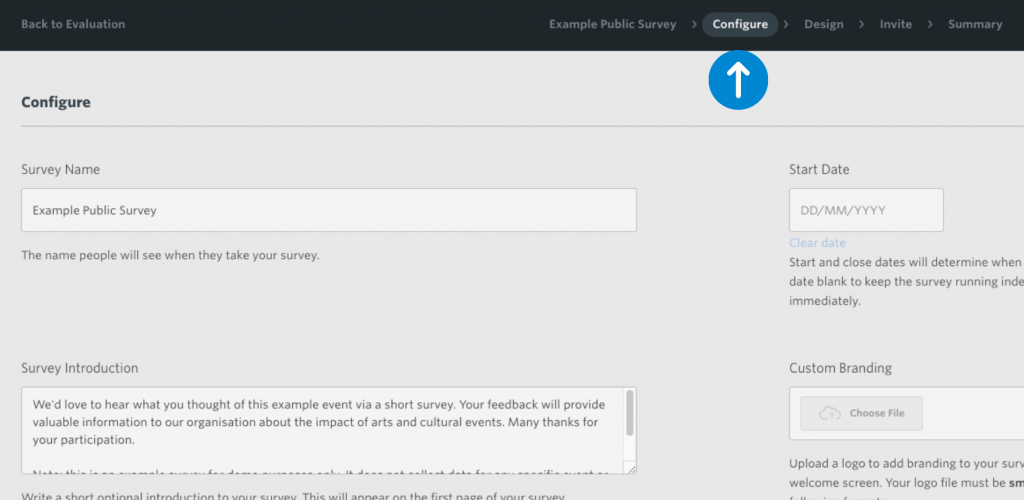
Configure
The first step in designing your Culture Counts survey is to configure the settings. Here you will edit the landing page of your survey, including the survey name, introduction message and branding. You can also configure your survey settings and identify how you plan to collect data. Click here for more information.
Design
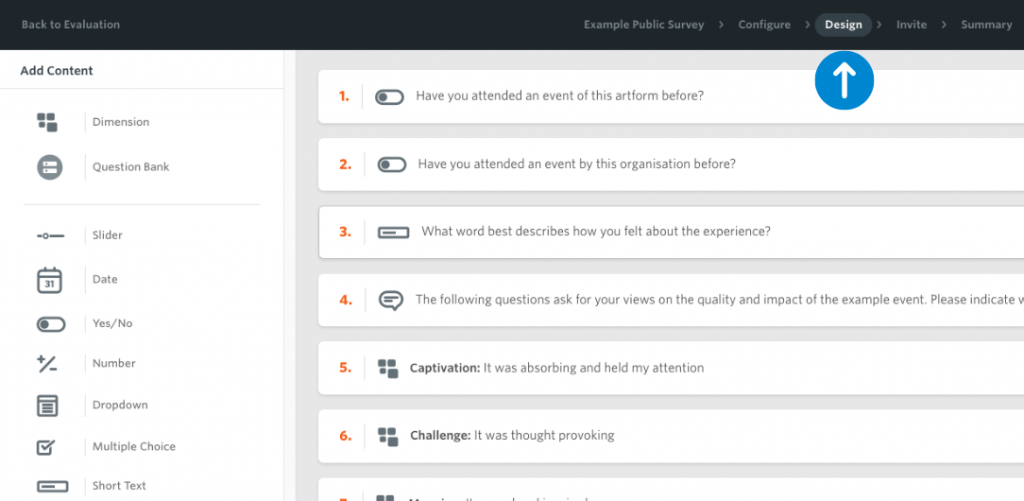
At this stage, you can design your survey by drawing from the different question types on offer in the platform. Simply click any of the questions types within the menu on the left side of the window. You can always come back to this page to edit your survey as needed. Browse the Question Bank to add predefined questions, commonly asked by other organisations or from the Dimension List. Find out more about the design settings here.
Invite
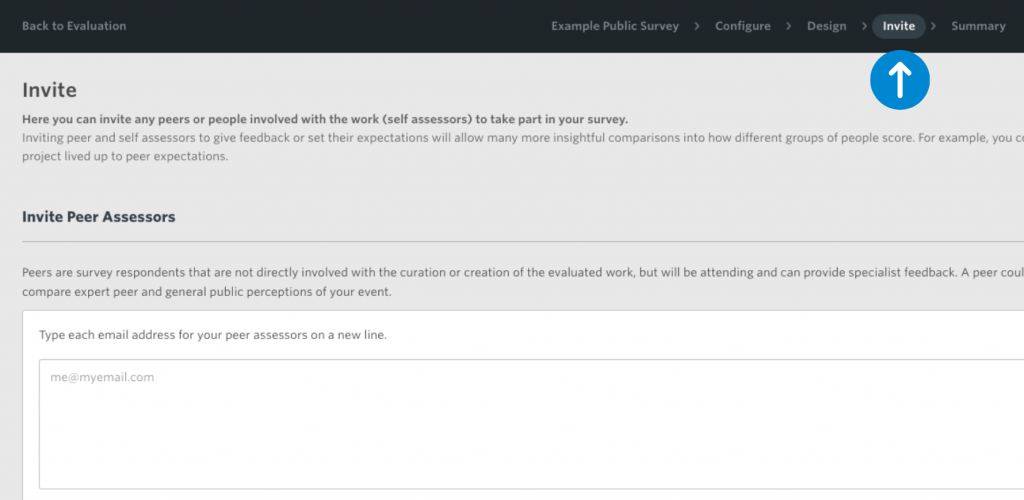
This stage will only need to be completed if you are conducting a Self and/or Peer Survey as part of your Evaluation, and if you would like to distribute and track respondent activity within the platform. If you are only distributing a Public survey, you can skip this step and go straight to the Summary page.
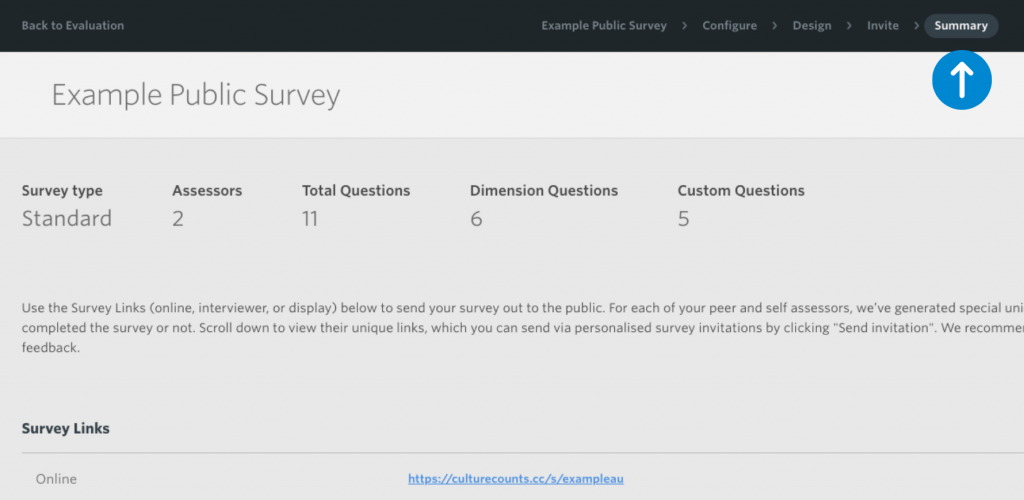
Summary
This page lists the survey URLs. With these links you can preview your survey, test it or distribute it to collect responses. This page also summarises Self and/or Peer Survey activity and provides a snapshot of the responses received so far.
