Adding paper survey responses
Setting up your survey
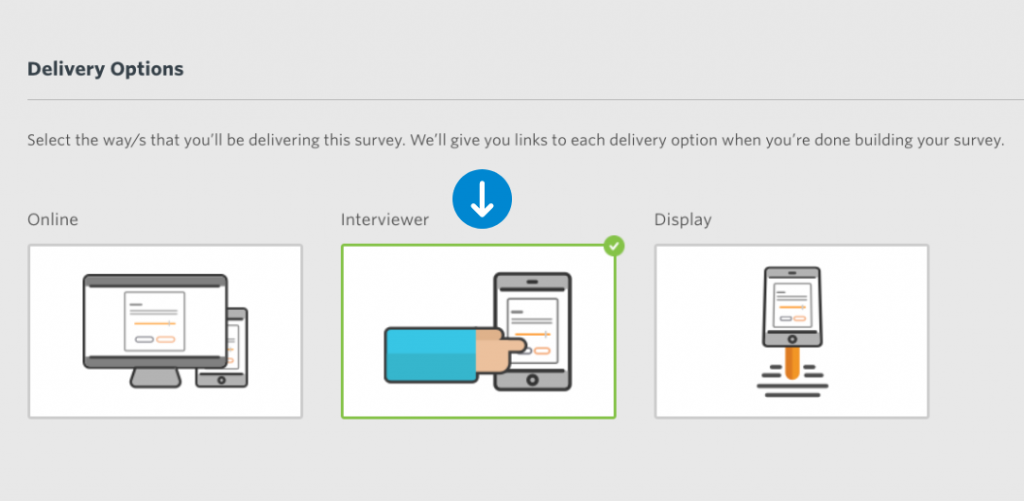
First, you need to configure your survey so that you can input the responses correctly. You must use the Interviewer link to add your data, as it allows multiple responses per device.

Designing your survey
Next, design your survey. Once you have done this, manually transfer your survey to a word document, ready for printing. You can contact your Client Manager for a copy of the word template.
Tip: Before you print out your survey make sure that it mirrors the online version (i.e sliders, tick boxes etc) so that you can accurately input the responses once they have been recorded.
Inputting your survey responses
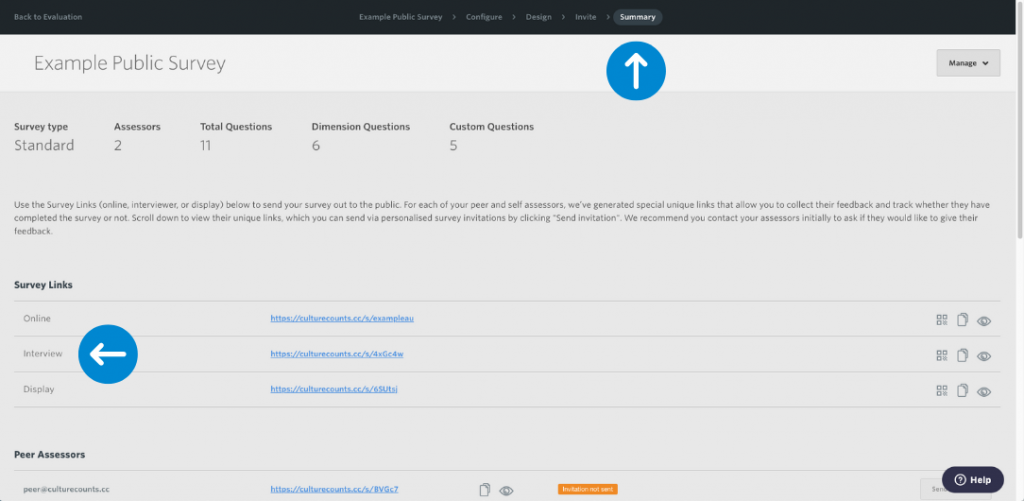
After you have collected the data, use the live Interviewer link on your survey summary page (see below) to input the information.
Imagine you are doing the survey yourself, just multiple times! It’s the same process, just transferring the data from paper to digital.

We recommend numbering each paper survey as the platform updates the response count in real time, making it easier to keep track!
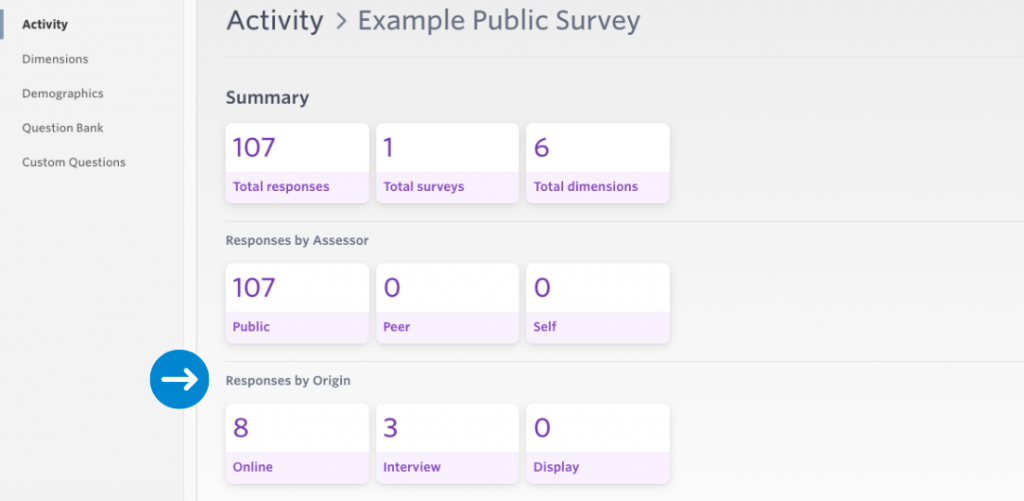
Once you have inputted your data, it should appear under the ‘Responses by Origin’ subheading in the analytics dashboard alongside responses collected online or via display links.

For more information about survey distribution and collection, click here.
